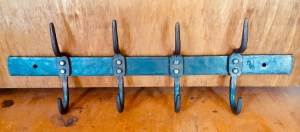
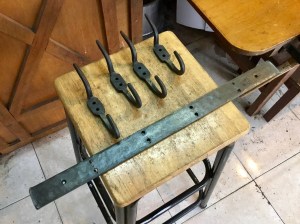
Here is a good forging project for any blacksmith. It is a wall hook rack. It can be used to hang clothes, coats, or whatever.
For the project I used a 20″ length of 1 3/8″ x 1/4″ flat bar for the backing, and 4 pieces of 1″ x 1/4″ flat bar each cut at 5 1/4″ long for the hooks. I used eight 1/4″ rivets.
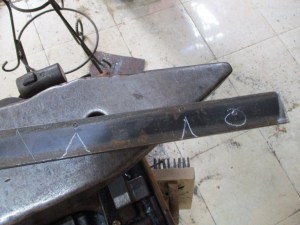
1) To prepare the pieces, start by marking the four 1″ x 1/4″ bars by punching center marks at 2 1/4″ from one end, and 1 1/2″ from the other end. This will then give you 1 1/2″ between the two punch marks.
2) To prepare the back plate, center punch 2″ in from both ends. These are for the holes to be drilled to mount it to a wall. Drilling 2″ in from each end will make the holes 16″ apart, which will line up with studs in most homes. As this hook rack will carry a lot of weight, it is wise to brace it strongly.
Then, place center punch marks 4″ from each end, and 4″ away from those marks — creating four marks, each mark being 4″ away from each other. These punch marks indicate where each hook will attach to the bar.
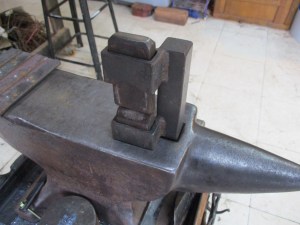
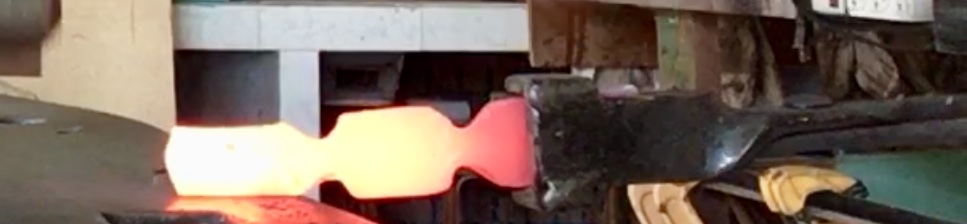
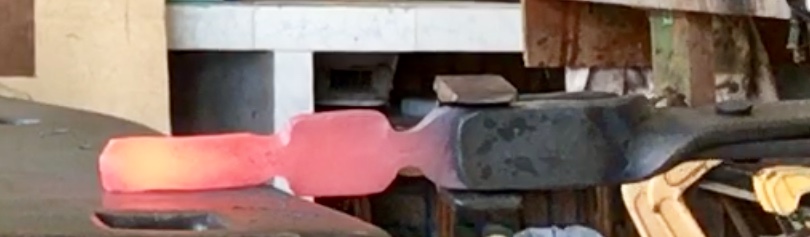
3) Next, you are going to heat up the four pieces of 1″ x 1/4″ bar and, where the punch marks are, fuller them down to about 3/8″ thickness. It helps to have a guillotine tool for this job. I bought mine from GS Tongs. You should check it out.
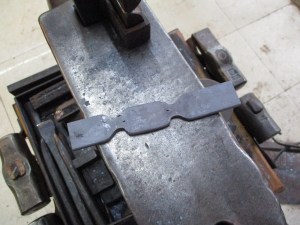
4) Now you need to draw out each end of the bar from the fuller to the edge down to about 3/8″ x 1/4″ thickness. Then, round out each drawn out section. These will be the hooks. One section is longer than the other. That will be the bottom hook. The section left flat in the middle will be the rivet plate for attaching to the back plate. Be carful when drawing out the end sections not to hit the center section.
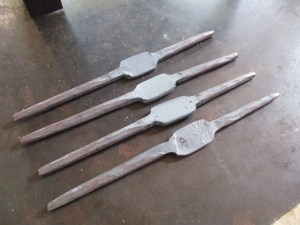
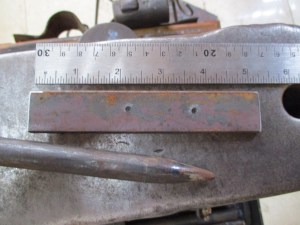
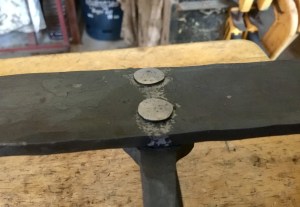
5) Next, drill two 1/4″ holes, in line with each other in the center plate. Do this for all four hooks and make sure the two holes are all the same distance from each other for each hook.
Then, using those holes, mark out where to drill on the back plate, lining up everything perfect for the rivets.
Also, on the back plate, drill out the two holes for the mounting screws, appropriate for the size of screw you want to use.
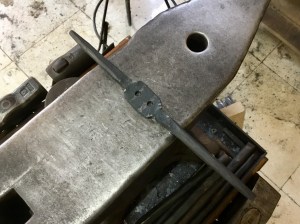
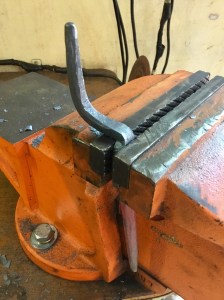
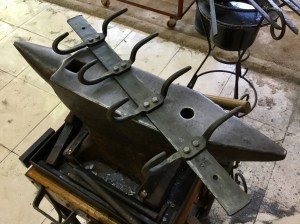
6) Now, place the four hooks back in the fire for bending. Start with the top hook, which is the shorter of the two drawn out sections. Place the hook in a vice holding firmly to the flat middle section. Hold the tip of the hook with tongs and hammer down to form the hook as shown below.
With the bottom hook (the longer section), curl it around as you would any “J” hook, on the horn of the anvil or around a bending jig. Don’t block the drilled holes.
Clean up all rough areas with a file.
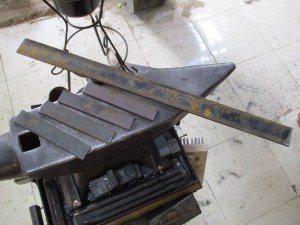
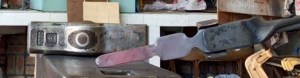
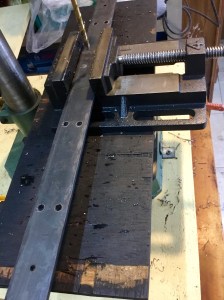
7) Place the back plate in the fire. Knock off the edges to give the bar a less manufactured look. Next, place the bar in the vice and upset each end a bit — again, for a nicer look.
Grab a counter sink and counter sink the mounting holes. Then flip the plate over and counter sink the back side of each 1/4″ rivet hole. The rivets will be hammered flush with the back plate and the counter sink provides a space for the rivet to fill in to.
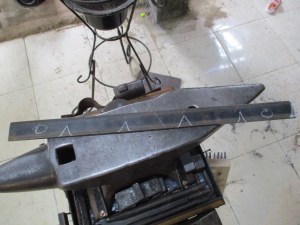
Now is a good time to add a touch mark if you want.
Clean up all rough and uneven areas with a file.
8) Now, it is ready for assembly.
Cut the rivets so that a 1/4″ sticks out the back of the back plate. Normally rivets are cut to twice their diameter, but as you will hammer them flat and flush to the back of the back plate, you need them to be shorter.
Insert the rivets, line everything up straight and in the correct orientation, and hammer the rivets down flat on the back side. You can hammer the rivets cold. As you are hammering, stop frequently to be sure everything is lining up properly. Hammer them down good and tight so there is no movement.
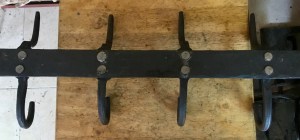
And you’re done. Put a good finish on it, some beeswax or linseed oil, and hang it up. These hooks will last many decades to come.
Related reading: Forging a Simple Leaf Hook
***
This project was inspired by a video posted by Black Bear Forge.
